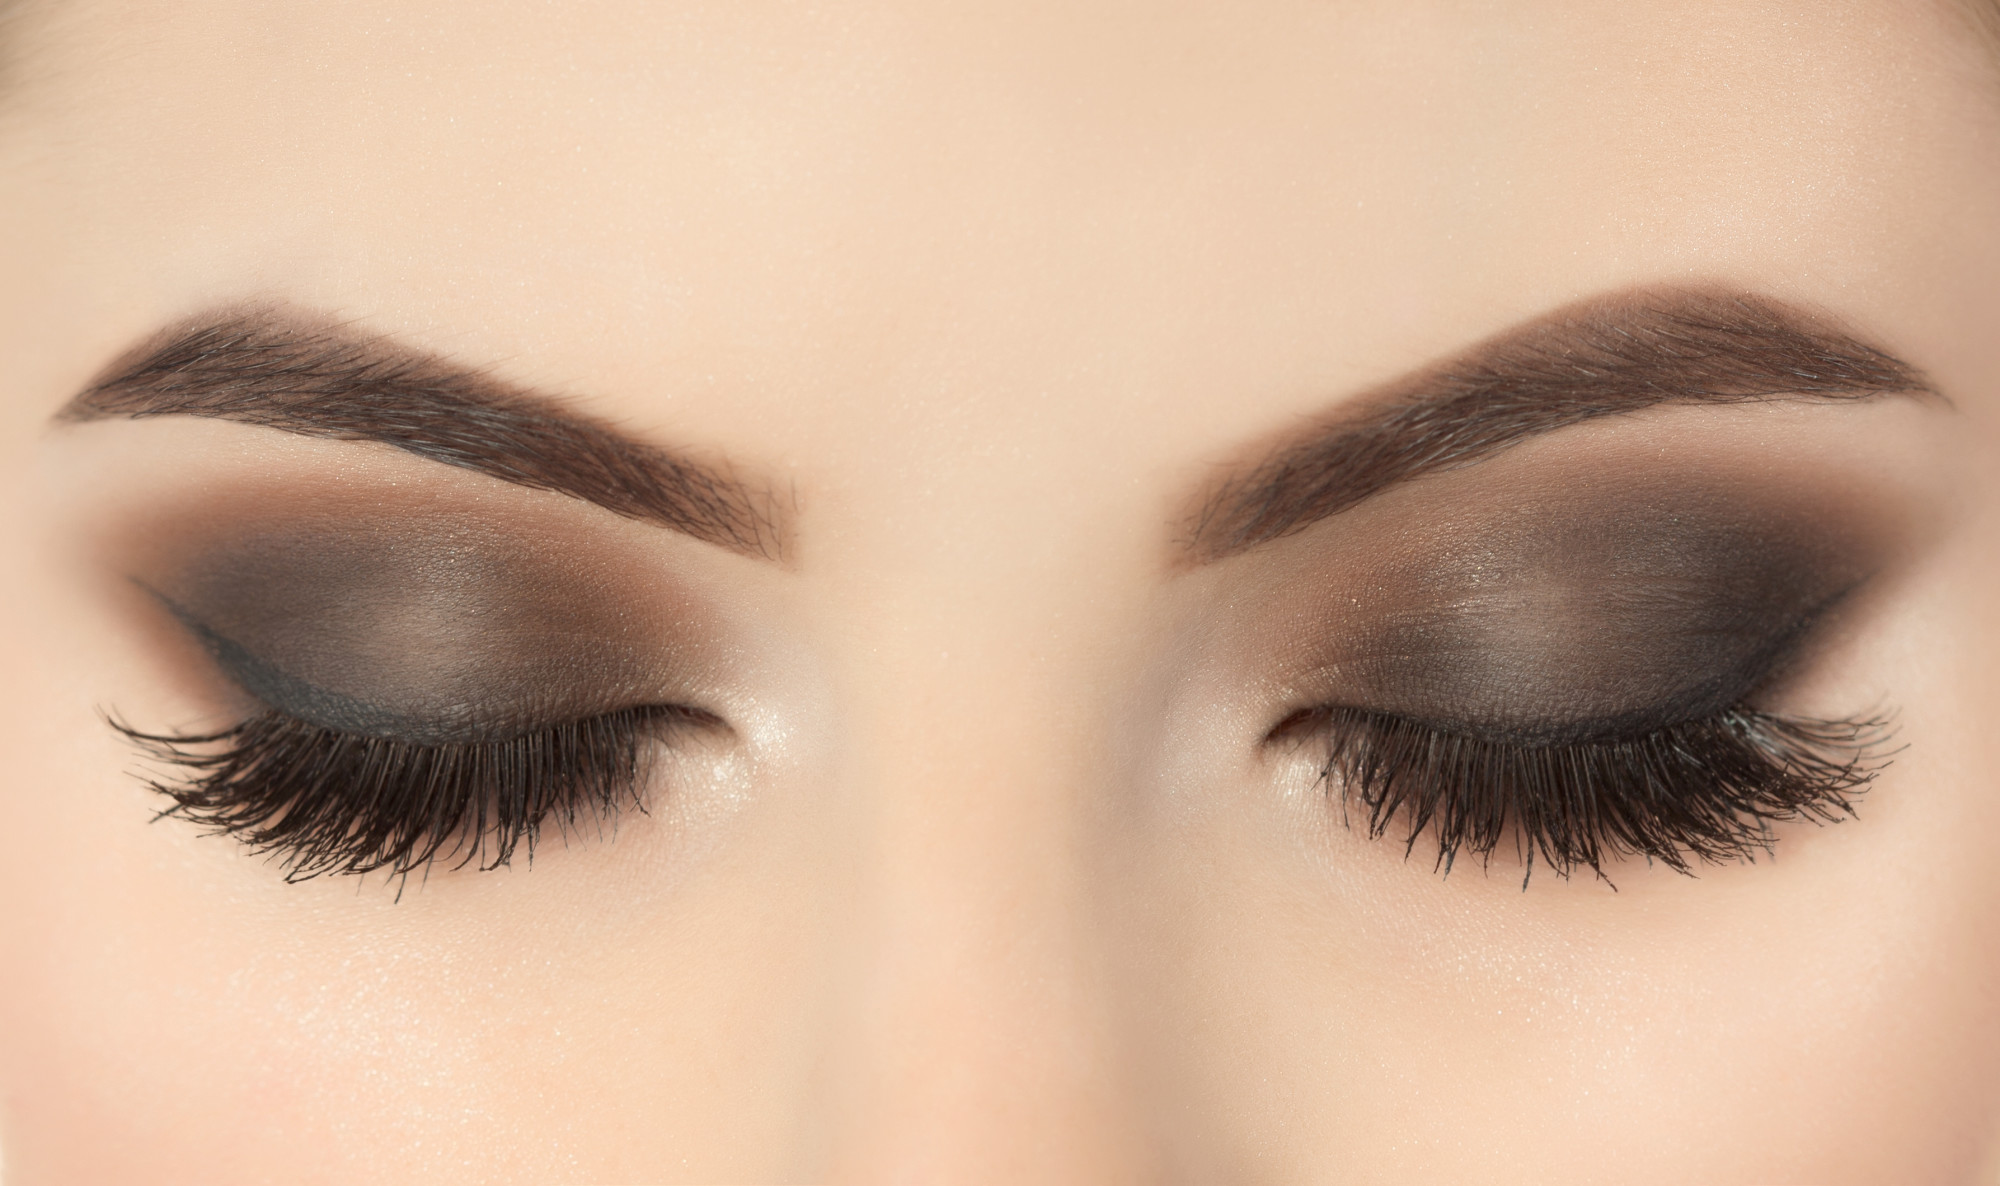
Did you know that artificial lashes have been around for over 100 years? They were invented by Karl Nessler in 1902. Unlike the ones used today, however, they were made from human hair and attached to ‘fish skin’ aka fish bladder.
Fast forward to today and they’re just as popular as ever. In fact, the false eyelash market is worth over $1.1 billion!
Thinking of getting your lashes done? Looking for a guide to applying eyelash extensions? If so, you’re on the right page.
We’ll be going over the step-by-step instructions below. Keep reading to learn more!
1. Choose the Right Eyelash Extensions
Choose extensions that are suitable for your own lashes. For example, you’ll want to avoid dramatically thick or long extensions if your natural eyelashes are short and thin. Not only can they damage your lashes, but chances are they won’t last very long, either.
Generally speaking, it’s best to start off with a half set if you’ve never applied extensions before. That way, you’ll be able to see how they hold up. Remember, you can always add more extensions later.
And as far as materials go, there are three types to choose from—synthetic, mink, and silk. Synthetics are the least expensive, while mink is the most expensive.
Tip: Consider buying an eyelash extension kit if you play on applying them yourself. They’ll come with all the eyelash extension supplies that you need, including tweezers, adhesive, gel pads, and adhesive remover.
2. Prepare Your Natural Lashes
Apply a small amount of makeup remover to a cotton pad and use it to clean the eye area (your lashes must be clean and dry for the adhesive to stick properly). Rinse with lukewarm water afterward. Make sure that they’re completely dry before applying the lash extensions.
Cover the area under your bottom lashes with a gel pad or tape (it should be included in the kit). That’ll protect your skin from the adhesive and make it easier to see the individual lashes when you’re putting on the extensions.
3. Applying the Lash Extensions
Select the extensions that you’d like to use with tweezers and carefully dip them in the adhesive. Remember not to use too much, otherwise, it’ll look messy.
Close your eye and place the extension onto your natural lash; you want it to be as close to the base of your lashes as possible.
For the best results, start at the outermost corner of your eye and work your way inward (the longest pieces should go on the outer edges). It’ll take approximately 60 seconds for the glue to set. If necessary, use the tweezers to adjust their position.
Remember, take your time. Do one eye, and then the other—that’ll help keep them looking even.
Applying Eyelash Extensions For the First Time
As you can see, there are several things to consider when it comes to applying eyelash extensions. Don’t worry if they don’t look perfect the first time—you’ll get better with practice!
For more tips like this, visit the rest of our beauty section!

